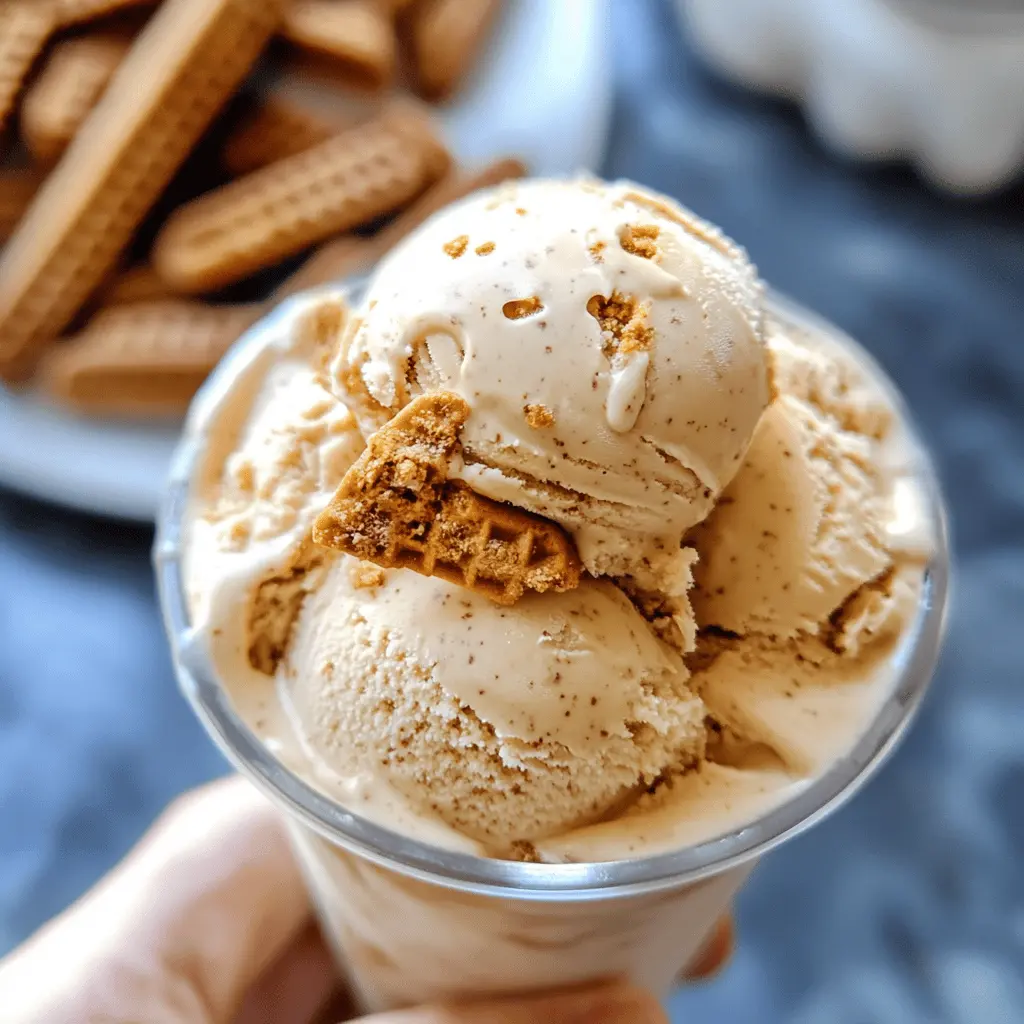
This Easy Homemade Biscoff Ice Cream is a creamy treat that combines the rich flavors of Biscoff cookies into a smooth ice cream. It’s so simple to whip up, you’ll want to have it every day!
Seriously, who can resist a dessert with cookie butter? I love to top mine with extra crumbles of Biscoff for a fun crunch. It’s the perfect treat to share—or not! 😉
Ingredients & Substitutions
Biscoff Cookie Butter: This is the star of the recipe. If you’re looking for a healthier option, you could try using almond or peanut butter. Just keep in mind, the flavor will be different!
Heavy Cream: For a lighter version, you can substitute with half-and-half or coconut cream. Just remember, it may alter the creaminess slightly.
Milk: Whole milk gives the best creamy texture, but you can use 2% milk instead if that’s what you have. It’s still delicious!
Granulated Sugar: If you want a healthier alternative, honey or maple syrup can replace sugar. Use about 2/3 of the amount since they are both sweeter.
Biscoff Cookies: Feel free to swap them for any sandwich cookies you love, like Oreos or you could even use gluten-free cookies for a gluten-free version!
How Do I Get the Creamiest Ice Cream?
The key to a creamy ice cream lies in the mixing process. After whisking together the milk, sugar, and cookie butter, make sure the mixture is completely smooth before churning. This helps ensure you avoid ice crystals forming.
- Churn your mixture according to your ice cream maker’s instructions—don’t rush it!
- Try not to over-churn, as it can lead to a denser texture.
- Once you’re done churning, transfer it straight to the freezer to harden properly.
Let it rest a bit at room temperature before serving for the best scoopable texture! Trust me, it’s worth the wait!

Easy Homemade Biscoff Ice Cream
Ingredients You’ll Need:
- 1 cup Biscoff cookie butter (smooth)
- 2 cups heavy cream
- 1 cup whole milk
- 3/4 cup granulated sugar
- 1 teaspoon vanilla extract
- 1 cup Biscoff cookies, roughly crushed
How Much Time Will You Need?
This recipe will take about 10 minutes to prepare, plus an additional 20-25 minutes to churn in the ice cream maker. Finally, you’ll need to freeze it for at least 4 hours to let it set. In total, set aside a little over 4 hours, but most of that time it’s just chilling in the freezer!
Step-by-Step Instructions:
1. Mix The Base:
In a medium mixing bowl, whisk together the whole milk, granulated sugar, and vanilla extract. Keep whisking until the sugar is fully dissolved—that way, you get a smooth base. This is super easy and a great first step!
2. Add Creamy Goodness:
Next, pour in the heavy cream and the smooth Biscoff cookie butter. Whisk again until everything is blended beautifully. You want that rich and creamy mixture to be totally combined for the best flavor!
3. Churn It Up:
Now, transfer your luscious mixture into an ice cream maker. Churn according to the manufacturer’s instructions—this typically takes about 20-25 minutes. You want it to achieve that soft-serve texture. It’s like magic watching it turn into ice cream!
4. Cookie Crunch:
During the last 5 minutes of churning, sprinkle in the roughly crushed Biscoff cookies. This will add satisfying bites of crunch throughout your ice cream. Mix them in well!
5. Freeze For Firmness:
Now, it’s time for the ice cream to chill! Transfer your beautiful ice cream into an airtight container. Place it in the freezer for a minimum of 4 hours. This step is crucial for achieving that perfect scoop!
6. Get Ready To Serve:
Before you dive in, let the ice cream sit at room temperature for about 5-10 minutes. This will help it soften a bit, making scooping much easier!
7. Enjoy Your Creation:
Scoop the delicious Biscoff ice cream into bowls. If you’re feeling fancy, you can sprinkle some extra cookie crumbs on top or drizzle with more cookie butter. Treat yourself and enjoy every creamy, spiced bite of your homemade masterpiece!
FAQ about Easy Homemade Biscoff Ice Cream
Can I Use Non-Dairy Alternatives?
Absolutely! You can substitute heavy cream with coconut cream or almond milk for a dairy-free version. Just ensure the cookie butter you choose is also dairy-free.
What Should I Do If I Don’t Have an Ice Cream Maker?
No problem! You can pour the mixture into a shallow dish and freeze it. Stir every 30 minutes for about 3-4 hours until it’s fully frozen to create a creamy texture, just like churning!
How Long Can I Store This Ice Cream?
The homemade Biscoff ice cream can be stored in an airtight container in the freezer for up to two weeks. Just remember that it may become a bit firmer the longer it sits, so let it sit at room temperature briefly before scooping!
Can I Add Other Mix-Ins?
Definitely! Feel free to add chocolate chips, crushed nuts, or other types of cookies during the last few minutes of churning for extra flavor and texture. Just keep the total mix-ins to about 1 cup to maintain the ice cream’s consistency!