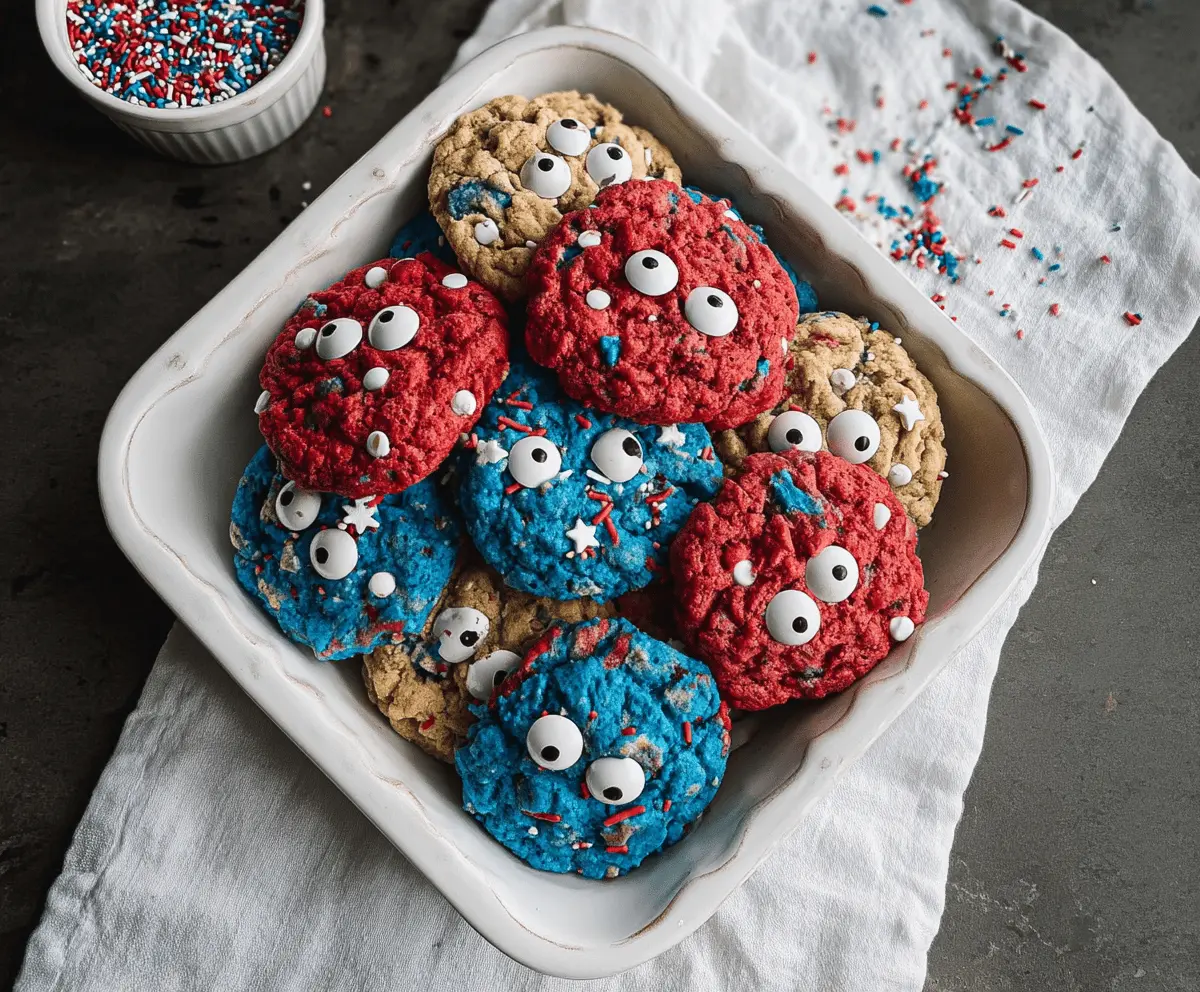
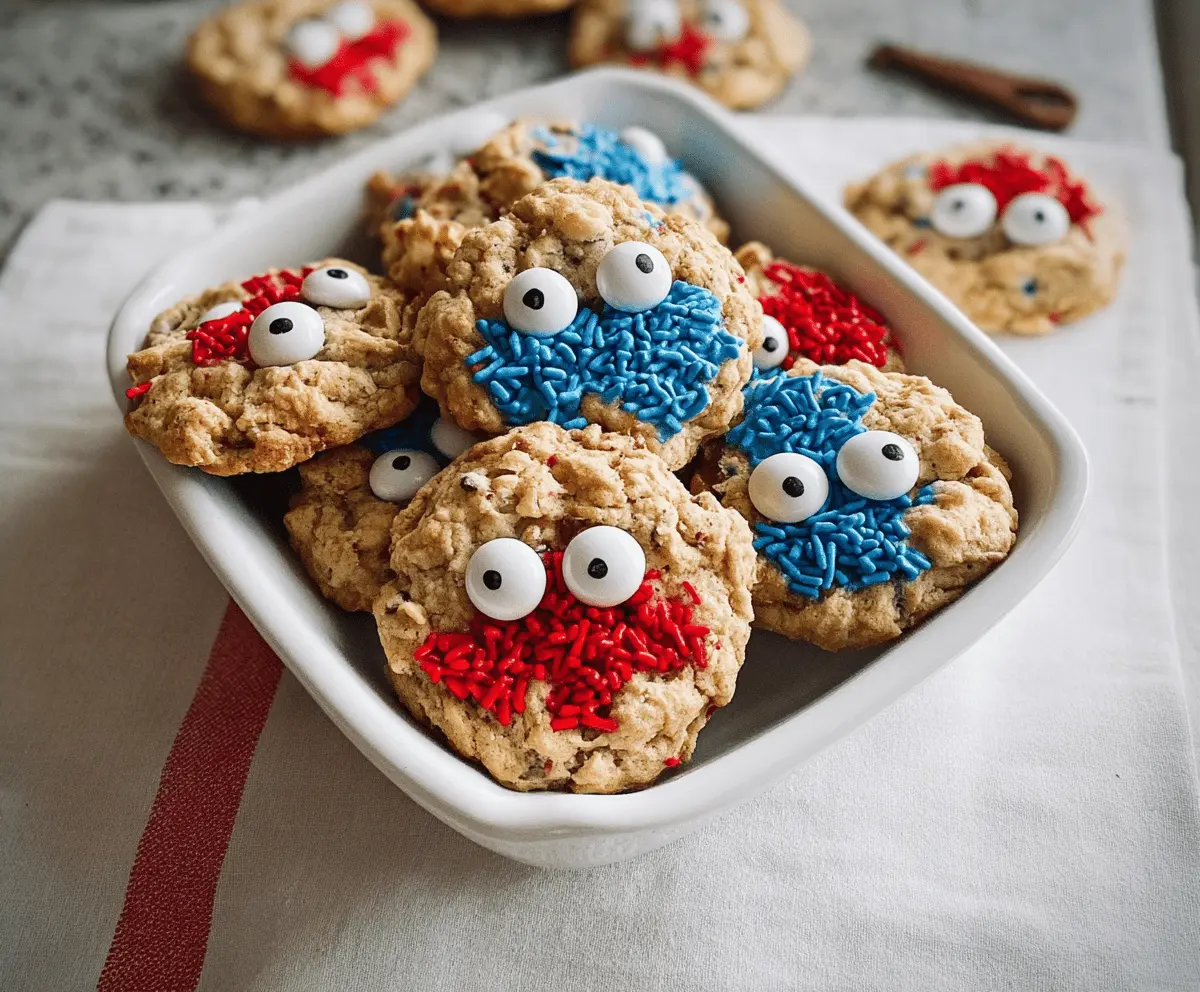
These Easy 4th of July Monster Cookies are a fun treat packed with oats, chocolate chips, and colorful M&Ms! Perfect for celebrating Independence Day with a tasty bite!
Making these cookies is a blast! I love how the M&Ms make them festive, and you can never go wrong with a monster-sized cookie—perfect for sharing (or not!). 🍪
Key Ingredients & Substitutions
Butter: Unsalted butter gives the best control over the cookie’s saltiness. If you’re in a pinch, you can use margarine or coconut oil, but the flavor might slightly change.
Oats: Old-fashioned rolled oats are key for that chewy texture. Quick oats can be too mushy, so I recommend sticking with rolled oats. Gluten-free oats work too if you need a gluten-free option!
Peanut Butter: I love creamy peanut butter for a smooth texture, but chunky peanut butter offers great crunch. If you have allergies, almond butter or sunflower seed butter are nice alternatives that will keep the cookie moist.
M&Ms: For that festive touch, go with red, white, and blue M&Ms. If they’re hard to find, regular M&Ms or any colorful candy will work too. You can even substitute chocolate chips for a more chocolatey flavor!
How Do I Get My Cookies to Be Soft and Chewy?
Getting those monster cookies to be soft and chewy is all about not overbaking them! Here’s how to ensure that perfect texture:
- Watch the time! Bake just until the edges turn golden but the center still looks soft.
- Let them cool on the baking sheet for 5 minutes before transferring. This helps them set up without becoming hard.
- Using brown sugar adds moisture, so don’t skip it! It helps keep cookies chewy.
Remember, the key is to let the cookies cool enough without overbaking! Enjoy your baking!
Easy 4th of July Monster Cookies
Ingredients You’ll Need:
- 1 cup unsalted butter, softened
- 1 cup granulated sugar
- 1 cup packed brown sugar
- 2 large eggs
- 2 teaspoons vanilla extract
- 2 1/2 cups all-purpose flour
- 1 teaspoon baking soda
- 1/2 teaspoon salt
- 3 cups old-fashioned rolled oats
- 1 1/2 cups peanut butter (creamy or chunky)
- 1 cup red, white, and blue M&M candies (or any red, white, and blue candy-coated chocolates)
- 1 cup chocolate chips
- 1 cup white chocolate chips or white chewy marshmallows (optional for extra texture)
- 1/4 cup red, white, and blue sprinkles (optional for garnish)
How Much Time Will You Need?
This recipe takes about 15 minutes to prep, and then an additional 10-12 minutes to bake. You’ll want to let the cookies cool for a few minutes before diving in. In total, about 30 minutes from start to finish for these festive treats!
Step-by-Step Instructions:
1. Preheat and Prepare
First, preheat your oven to 350°F (175°C). While that’s warming up, line your baking sheets with parchment paper or silicone baking mats. This helps prevent the cookies from sticking and makes for an easy cleanup!
2. Creaming the Ingredients
In a large mixing bowl, use a mixer to cream together the softened butter, granulated sugar, and brown sugar. Mix until the mixture is light and fluffy—this usually takes about 3-5 minutes. Next, beat in the eggs one at a time, making sure to mix well after each addition. Add the vanilla extract and stir until everything is combined smoothly.
3. Mixing the Dry Ingredients
In a separate bowl, whisk together the all-purpose flour, baking soda, and salt. It’s important to combine these ingredients well so that the baking soda can work its magic in the oven!
4. Combining Wet and Dry Ingredients
Gradually add the dry mixture to the wet ingredients in your mixing bowl. Mix until just combined to avoid overworking the dough. Next, stir in the rolled oats and peanut butter until everything is evenly mixed. The dough will be thick—this is what you want!
5. Adding the Fun Ingredients
Now comes the best part! Gently fold in the red, white, and blue M&Ms, chocolate chips, and, if you’re using them, the white chocolate chips or marshmallows. This is where the cookies get their festive touch!
6. Scooping the Cookie Dough
Using a cookie scoop or a spoon, drop large scoops (about 2 tablespoons each) of cookie dough onto the prepared baking sheets. Make sure to space them about 2 inches apart because they will spread while baking. For a special touch, sprinkle the tops with some red, white, and blue sprinkles.
7. Baking the Cookies
Pop the trays into the oven and bake for 10-12 minutes. Keep an eye on them! You want them to be lightly golden around the edges but still soft in the center.
8. Cooling and Enjoying
Once baked, allow the cookies to cool on the baking sheet for about 5 minutes. Then, transfer them to wire racks to cool completely. Now they’re ready to enjoy! Perfect for your 4th of July celebrations!
These colorful Monster Cookies are sure to be a hit with the whole family. Whether you’re celebrating Independence Day or just enjoying a fun treat, these cookies are delicious and delightfully festive!
Frequently Asked Questions (FAQ)
Can I Use Different Types of Sugar?
Absolutely! If you want a lighter cookie, you can use all granulated sugar instead of brown sugar. However, the brown sugar adds moisture and chewiness, so I recommend keeping it in for the best texture!
What Can I Use if I Don’t Have Peanut Butter?
No problem! You can swap peanut butter for almond butter, cashew butter, or sunflower seed butter if you have nut allergies. Just keep in mind that the flavor will change slightly!
Can I Freeze the Cookie Dough?
Yes, you can freeze the cookie dough! Scoop the dough onto a baking sheet and freeze until solid. Then transfer the frozen dough balls to an airtight container or zip-top bag. They can be stored in the freezer for up to 3 months. Just bake them directly from the freezer, adding an extra minute or two to the baking time.
How Should I Store Leftover Cookies?
Store leftover cookies in an airtight container at room temperature for up to a week. If you’d like them to stay soft, you can add a slice of bread to the container to keep them moist!