This easy homemade cherry pie is a sweet treat you’ll love! With juicy cherries and a flaky crust, it’s like a warm hug in dessert form. Perfect for any occasion!
I love how this pie reminds me of my grandma’s kitchen. Making it is a breeze, and the smell while it bakes? Pure bliss! Serve it warm with ice cream for a real delight! 🍒
Key Ingredients & Substitutions
Sweet Cherries: Fresh cherries are ideal, but frozen ones work just as well! If you can’t find sweet cherries, tart cherries can add a lovely zing. Just adjust the sugar according to your taste.
Sugar: Adjust the amount based on how sweet your cherries are. If you’re cutting sugar, consider using honey or maple syrup as a natural sweetener.
Pie Crust: Store-bought saves time, but homemade crust adds that special touch. If you’re gluten-free, try using a gluten-free pie crust or a crumb crust made from ground nuts.
Almond Extract: This ingredient adds a nice depth to the cherry flavor. If you don’t have it, vanilla extract is a great substitute.
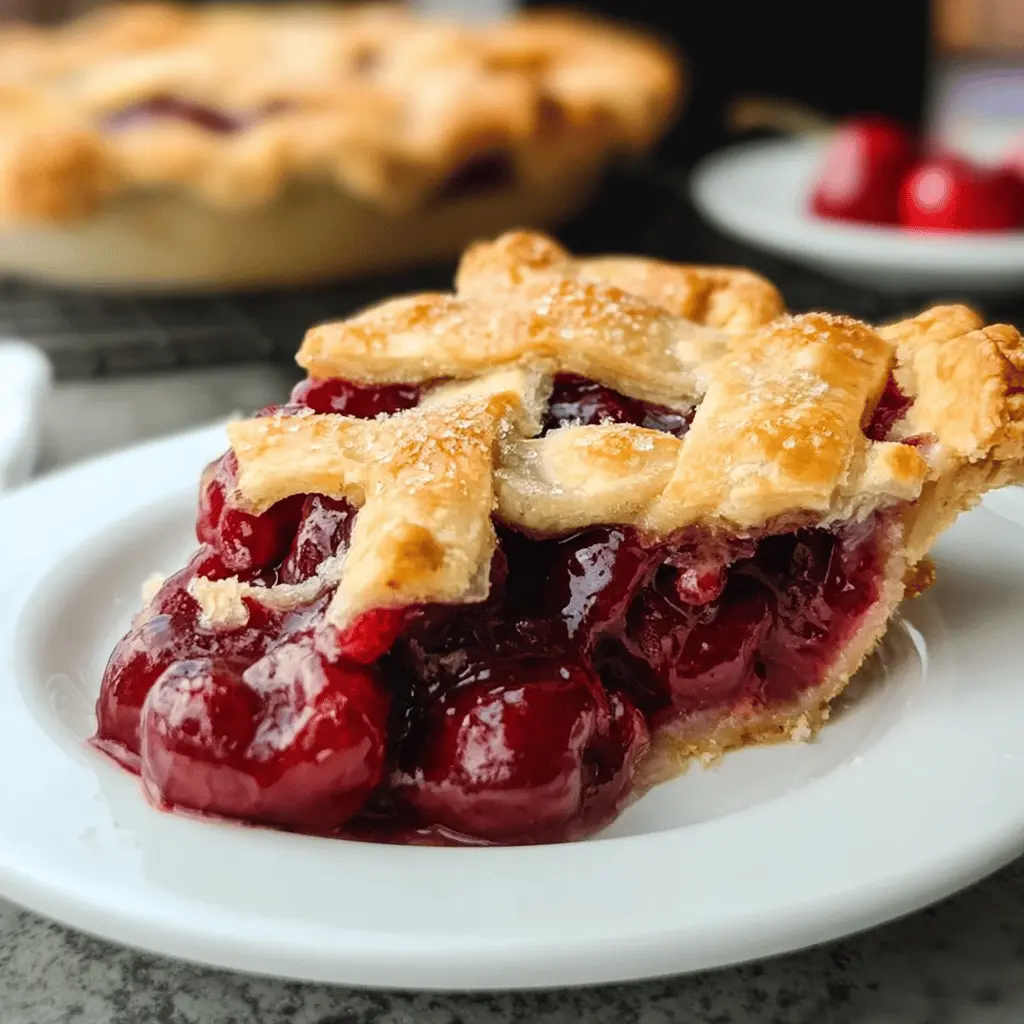
What’s the Best Way to Create a Lattice Top for the Pie?
Creating a lattice top can be simple with a little practice! Start by rolling out the second crust and cutting it into strips.
- Lay half of the strips parallel on the pie, spaced evenly apart.
- Fold back every other strip halfway, and place a new strip perpendicular across the center. Unfold the original strips back over this new strip.
- Repeat this process with the remaining strips, alternating over and under to form the lattice pattern.
- Trim and tuck the ends under the bottom crust for a neat finish.
Don’t worry about making it perfect; the rustic look adds to its charm! Just remember to seal the edges well to avoid any spills. Have fun with it!

Easy Homemade Grandma’s Sweet Cherry Pie
Ingredients:
For the Pie:
- 2 pie crusts (store-bought or homemade)
- 5 cups fresh or frozen pitted sweet cherries
- 1 to 1 1/4 cups granulated sugar (adjust to taste and cherry sweetness)
- 3 tablespoons cornstarch
- 1 tablespoon lemon juice
- 1/2 teaspoon almond extract (optional, enhances cherry flavor)
- 1/4 teaspoon salt
- 2 tablespoons butter, cut into small pieces
For the Egg Wash:
- 1 egg
- 1 tablespoon water
- Sugar for sprinkling on top crust (optional)
Time Needed:
This delicious pie takes about 20-25 minutes to prepare and then around 1 hour to bake. Don’t forget to let it cool for at least 2 hours before slicing—this helps the filling to set properly. You’ll be rewarded with a slice of warm, sweet cherry goodness!
Step-by-Step Instructions:
1. Preheat the Oven:
Start by preheating your oven to 425°F (220°C). This will help your pie crust bake up nice and crispy!
2. Prepare the Pie Crust:
Roll out one pie crust and fit it snugly into a 9-inch pie dish. Make sure it covers the sides well, as that will hold all the delicious cherry filling!
3. Mix the Cherry Filling:
In a large bowl, combine the pitted cherries, sugar (adjust based on sweetness), cornstarch, lemon juice, almond extract (if using), and salt. Toss gently and let the mixture sit for about 10 minutes to allow the juices to start flowing.
4. Fill the Pie Crust:
Pour the cherry filling into the prepared pie crust, spreading it out evenly. Dot the filling with small pieces of butter for added richness.
5. Add the Top Crust:
Roll out the second pie crust. You can cut it into strips to create a beautiful lattice top or cover the pie completely and cut slits for steam. Place it over the filling, sealing the edges by pinching the top and bottom crusts together. Trim any excess dough.
6. Brush the Top Crust:
Beat the egg with water to create an egg wash. Brush it over the top crust for a lovely golden color and sprinkle with a little sugar if you like it sweet!
7. Bake the Pie:
Place the pie in the preheated oven and bake at 425°F for 15 minutes. Then, reduce the temperature to 350°F (175°C) and continue baking for 35-40 minutes until the crust is golden and the filling is bubbling.
8. Cool and Serve:
If the edges of the crust brown too quickly, cover them loosely with foil. Once done, let the pie cool for at least 2 hours. This cooling time allows the filling to thicken and makes for easier slicing.
9. Serve:
Enjoy this classic sweet cherry pie warm or at room temperature. It’s delightful with a scoop of vanilla ice cream or a dollop of whipped cream!
Dig in and savor every bite of this homemade cherry delight—a recipe that truly tastes like grandma made it!
FAQ for Easy Homemade Grandma’s Sweet Cherry Pie
Can I Use Frozen Cherries for This Recipe?
Absolutely! Frozen cherries work perfectly in this recipe. Just make sure to thaw them completely and drain any excess liquid before mixing with the other ingredients. You may want to slightly increase the cornstarch to help thicken the filling.
How Do I Store Leftover Pie?
Store any leftovers in an airtight container in the fridge for up to 3-4 days. To keep the crust crispy, you can also wrap it tightly in foil. Reheat individual slices in the oven at 350°F (175°C) for about 10-15 minutes.
Can I Make This Pie Ahead of Time?
You definitely can! Prepare the pie up to the baking step and cover it tightly with plastic wrap. It can be stored in the fridge for up to a day before baking. If you wish to freeze it, make sure to wrap it well and label it for up to 3 months; bake from frozen, adding extra time to the baking process.
What Can I Substitute for Almond Extract?
If you don’t have almond extract, vanilla extract is a great substitute that still adds wonderful flavor. Just use the same amount for a delicious twist on the classic cherry taste!
Enjoy baking this delightful pie, and feel free to reach out if you have any more questions!