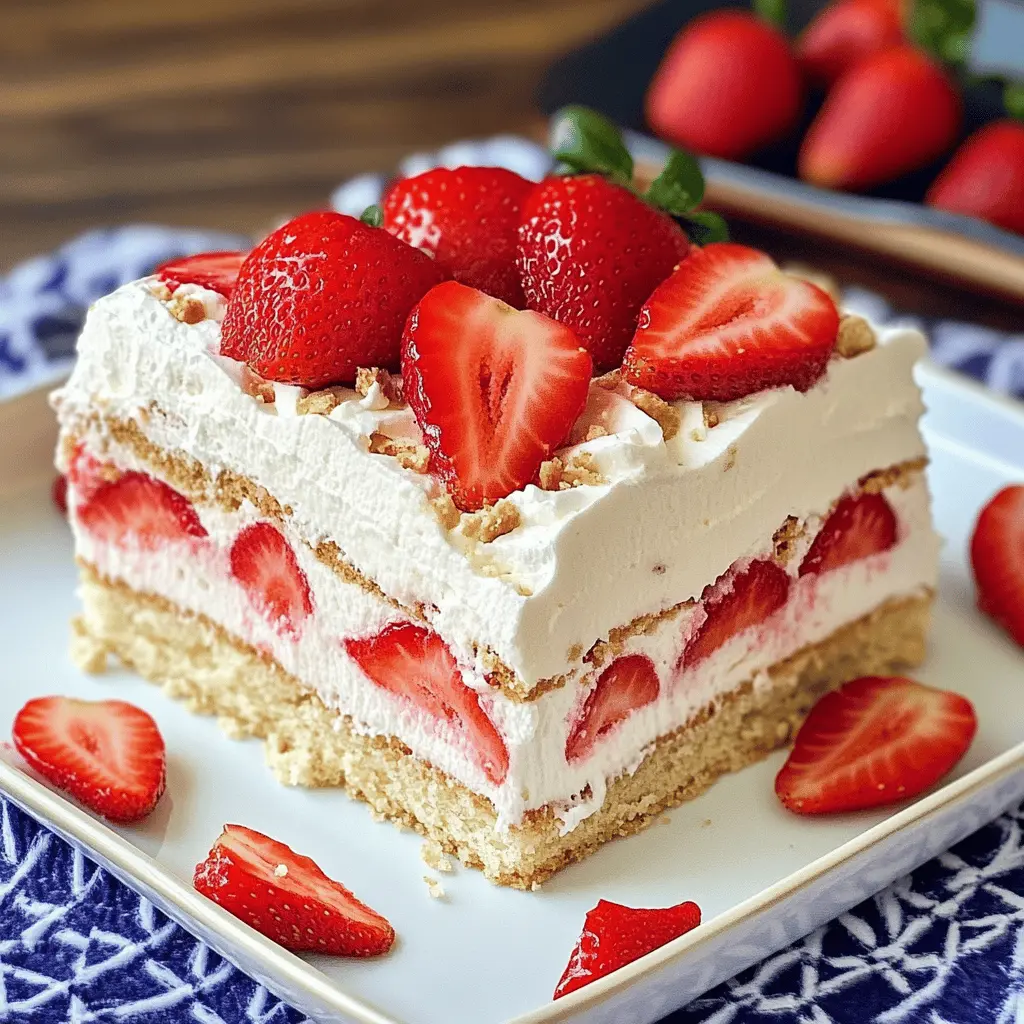
This Strawberry Icebox Cake is a cool and sweet treat that’s super easy to make, and the best part? No baking required! Just layers of creamy filling, fresh strawberries, and graham crackers.
Whipping this up is like a summer dream come true! I love how the strawberries shine in this dessert. It’s perfect for warm days or when you’re feeling extra fancy without the fuss! 🍓
Key Ingredients & Substitutions
Strawberries: Fresh strawberries are essential for the best flavor. If you can’t find fresh ones, you can use frozen strawberries, but thaw and drain them first to avoid excess liquid. I love using ripe, juicy strawberries for maximum sweetness!
Heavy Whipping Cream: This gives the cake its rich and creamy texture. If you want a lighter version, you can try using whipped topping instead, though it won’t have the same homemade richness.
Powdered Sugar: This helps sweeten the whipped cream easily. If you’d like less sugar, you can use a sugar substitute designed for baking, or simply reduce the amount to your taste!
Graham Crackers: These are a classic choice for this dessert, adding crunch and structure. You can substitute them with vanilla wafers, digestive biscuits, or even gluten-free crackers if needed.
Strawberry Preserves: They enhance the strawberry flavor. If you want a different fruit note, you can swap it for other fruit preserves like raspberry or peach!
How Do You Get Perfectly Whipped Cream?
To achieve the airy, fluffy texture of whipped cream, it’s crucial to follow a couple of key steps. Start with chilled equipment and cream for the best results.
- Use a medium bowl and electric mixer on medium speed to begin. Beat the cream until it starts to thicken.
- Slowly add in the powdered sugar and vanilla extract, then increase the speed to high until stiff peaks form. Avoid overbeating, as that can turn your cream into butter!
- Keep an eye on it! The peaks should stand straight up when you lift the beaters out.
This technique not only improves texture but also elevates the flavor. Enjoy the creamy goodness you’ll achieve!
How to Make Strawberry Icebox Cake (No Bake)
Ingredients You’ll Need:
Main Ingredients:
- 2 pounds fresh strawberries, hulled and sliced
- 2 cups heavy whipping cream
- 1 cup powdered sugar
- 1 teaspoon vanilla extract
- 1 package (14 ounces) graham crackers
- ½ cup strawberry preserves
How Much Time Will You Need?
This delightful Strawberry Icebox Cake will take about 20 minutes to prepare and you’ll need to let it chill for at least 4 hours, or ideally overnight. This allows the flavors to blend and the graham crackers to soften—so worth the wait!
Step-by-Step Instructions:
1. Whipping the Cream:
Start by placing the heavy whipping cream in a medium-sized bowl. Using a hand mixer, beat the cream on medium speed until it starts to thicken. Once it thickens a bit, slowly add in the powdered sugar and vanilla extract while continuing to whip. Keep mixing until you see stiff peaks forming. This means your whipped cream is ready! Set it aside for now.
2. Starting the Layers:
Grab your 9×13 inch dish and spread a thin layer of the whipped cream on the bottom. This helps prevent the graham crackers from sticking later. It doesn’t need to be perfect, just a light spread is enough!
3. Adding Graham Crackers and Preserves:
Take some graham crackers and lay them on top of the whipped cream. If you need to break some to fit, that’s perfectly okay! Next, spread half of the strawberry preserves over the layer of graham crackers. This will add a sweet and tasty kick!
4. Layering More Whipped Cream and Strawberries:
Now, take half of your whipped cream and spread it over the strawberry preserves. Then add half of the sliced strawberries on top of the whipped cream—yum! You’re creating layers of deliciousness!
5. Repeating the Layers:
Time to repeat! Add another layer of graham crackers, then the remaining strawberry preserves, followed by the rest of the whipped cream, and finally the remaining strawberries. Look how beautiful it’s turning out!
6. Finishing Touches:
Your last step is to finish with a lovely layer of whipped cream on top. If you want to, garnish it with a few extra strawberry slices for a pop of color and presentation. Now, cover your dish with plastic wrap and pop it in the fridge!
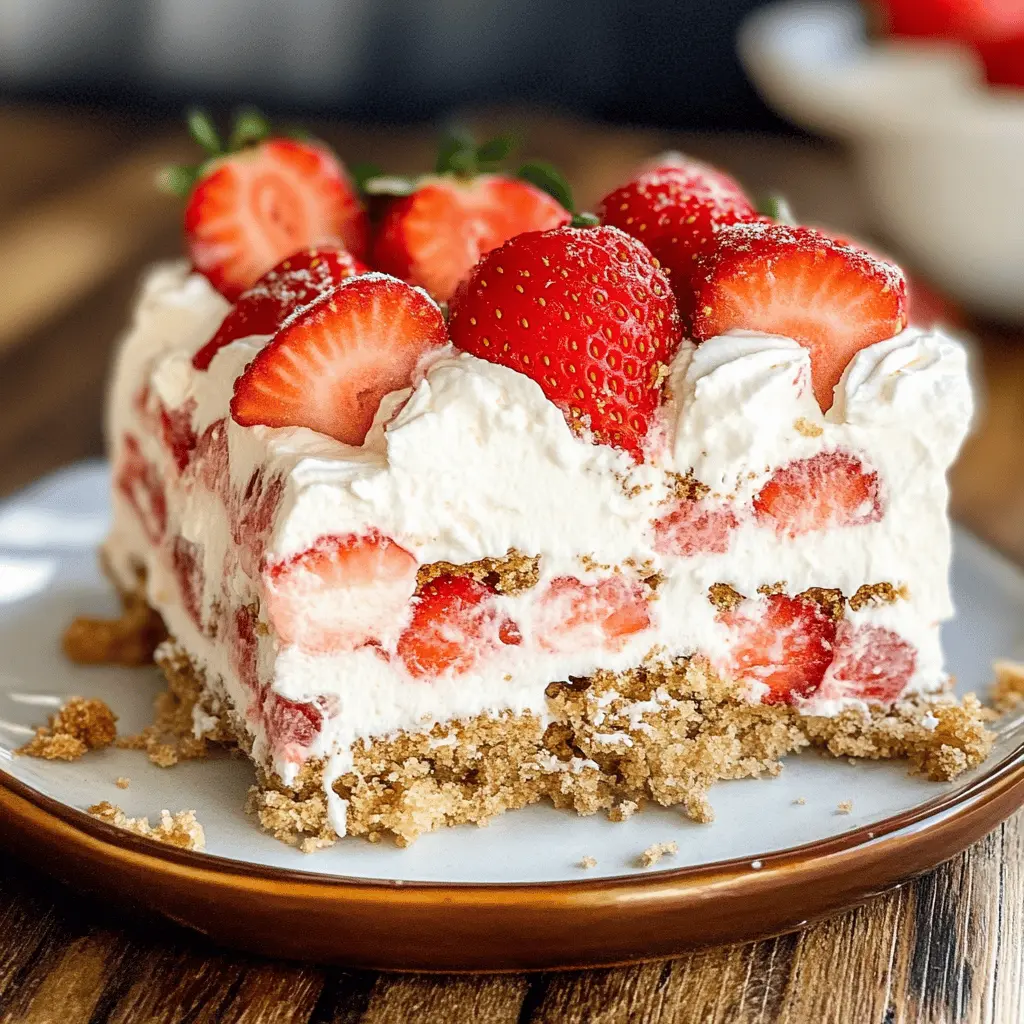
7. Chilling and Serving:
Let your strawberry icebox cake chill for at least 4 hours, but letting it sit overnight is even better. This gives it time for all the flavors to meld beautifully. When you’re ready to serve, just cut it into squares and enjoy your refreshing dessert!
Can I Use Frozen Strawberries Instead of Fresh?
Yes, you can use frozen strawberries! Just make sure to thaw them completely and drain off any excess liquid to avoid making the cake too watery. Once thawed, slice them as you would fresh strawberries!
How Can I Make This Recipe Gluten-Free?
To make the strawberry icebox cake gluten-free, simply substitute the regular graham crackers with gluten-free graham crackers. There are various brands available that offer gluten-free options that work perfectly in this recipe.
Can I Prepare This Cake the Night Before?
Absolutely! In fact, preparing it a day in advance allows the flavors to meld even better. Just cover it well after assembling and refrigerate it overnight for the best results!
What’s the Best Way to Store Leftovers?
Store any leftovers in an airtight container in the fridge for up to 3 days. Make sure to keep it covered to prevent it from drying out. Enjoy it cold for a refreshing treat!